Note: This new module is designed to print 1-up labels.
1. Open the Shipping List View and Select "New".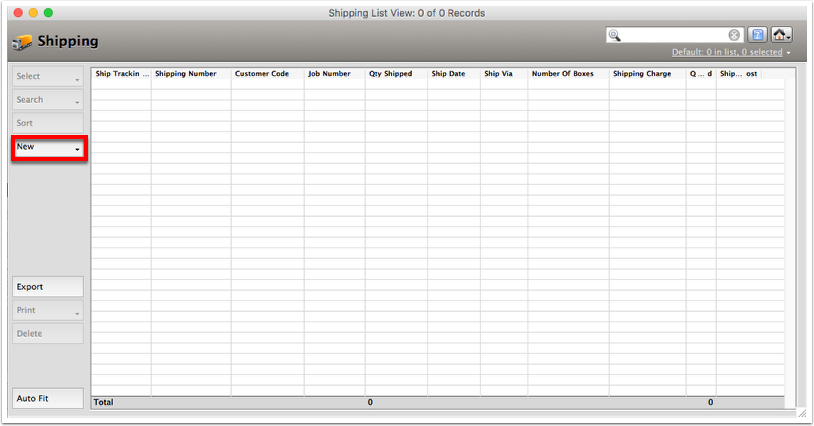

2. Select the customer then select "OK".

3. Add the job number to the line item by selecting in the job number box then double clicking the job number you want to make a shipment for in the top right list.

4. Select the "Reports / Labels / Charge / Track" button.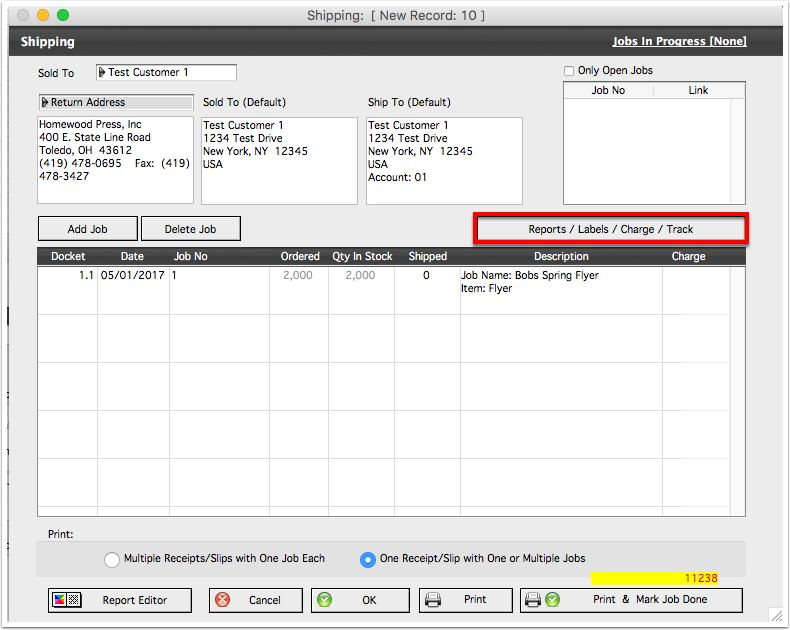

5. Select the "Labels" tab and fill in the proper information.
- Ensure the correct label report is selected.
- Fill in the number of boxes going to that location.
- Fill in the QTY per box (Leaving out the QTY in the last box).
- Fill in the QTY in the last box.
- Repeat steps 2-4 for all selected addresses.
- When all information is complete select "OK" to close this window.

6. Select "Print" to print the labels, delivery receipt, and packing slips.

7. Select "OK" to save and close the shipping record.
