The images here display loading a report into Estimates. To load a report into another area, simply go to that List view.
Refer to Selecting a SuperReport as the default Report to see how to use this report
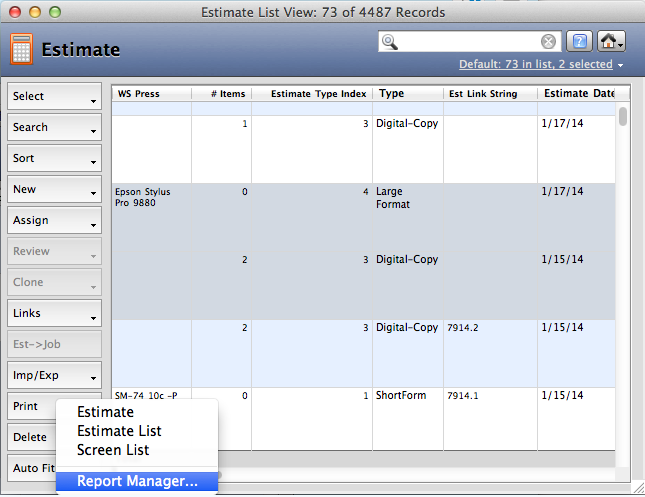
1. List View > Print > Report Manager....
Click on the Print button in the left navigation area, and go to the Report Manager
2. Click the New (+) Button

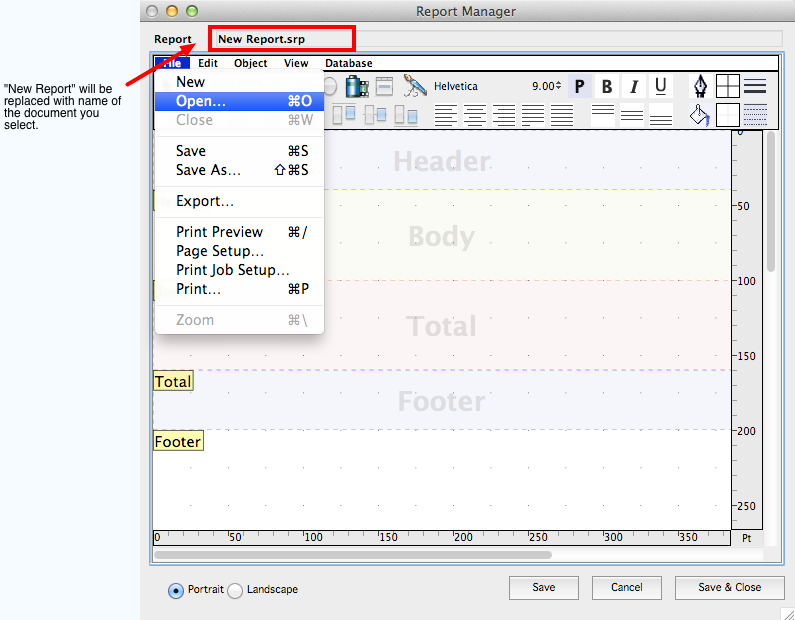
3. File > Open...
After you have opened the report... the REPORT NAME will be changed to the current report.
4. Confirm your action
You may receive a dialog confirming that you wish to load in a report. This usually occurs if you have made changes to the existing report, and have not saved them yet.

5. Select the report to load
You will have received the SuperReport from PrintPoint. Save the report to your desktop (or any folder you wish), then select it here.
Please be sure that the name of the document being loaded is the SAME as the report being edited. Otherwise, a NEW report will be created, and the report you were editing will remain unchanged.

6. File Menu > Page Setup...
Adjust any settings.
It is recommended to leave the "Any Printer" item selected as this will give the report the best chance of printing on any printer you have. If you select a specific printer, the report will have the margins from that printer saved with it. If you later print to a different printer whose margins are wider, the report might be cut off.

7. File Menu > Print Job Setup...
Adjust any settings. This step is NOT a duplicate of the previous step. it includes separate properties for the preparation for the report to print.
In the case of a Job Ticket, for example, f you want the report to be sent to a specific tray, this is where you would select that.

8. Save the report
Click the SAVE or SAVE & CLOSE button(s).

- Prev: Creating a New SuperReport
- Next: Opening a SuperReport