How to setup a Web2Print Site record to communicate with a Pressero Storefront.
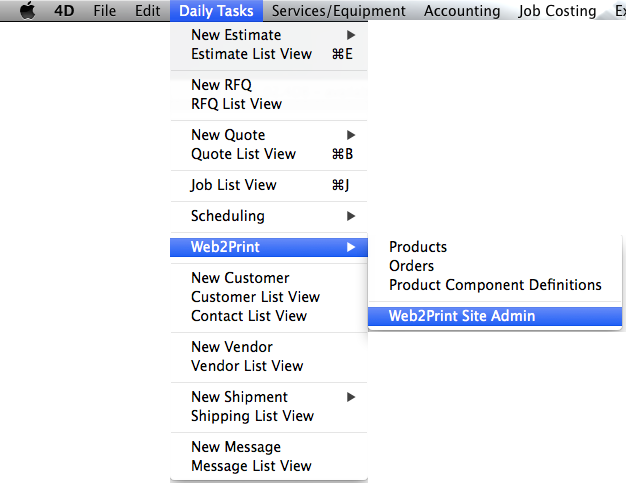
1. Daily Tasks > Web2Print > Web2Print Site Admin
2. Click the New button to add a record
PrintPoint displays the Web2Print Site Entry screen.

3. Enter the site name for your Pressero Storefront
The Site Name is how you identify the site within your list of Web2Print Sites. It is only used within PrintPoint so you can easily identify your Web2Print Sites.

4. Set your Web2Print System to Pressero
The Web2Print System tells us with which type of system PrintPoint needs to communicate when managing the site.
PrintPoint Storefront is the default.
Click on the black arrow to change to Pressero.

5. Enter the Website URL for accessing the Pressero Site
The is the address your users will enter into their web browser to access the site.

6. Click the Validate URL button to verify the site with Pressero
Click the Validate URL button to connect with Pressero to be sure that the site is valid. If Pressero recognizes the site, it will send back the internal Pressero GUID string which is used to uniquely identify this site when communicating with Pressero.

7. Enter the Next Order #, Date, and Time
When taking over an existing Pressero site, these settings will allow you to skip all the old orders that have already been placed.
If this is a brand new Pressero site with no orders, leave these at the default Order #0 and the current date and time this Web2Print Site record was created.

8. Enter the FTP credentials for the Product PDF uploads
Enter your FTP credentials and Path for PDF Uploads on the FTP server to upload Product PDFs for Pressero. PrintPoint will upload Product PDFs to this ftp location and send then links to Pressero so their system can download them and create thumbnails for the web pages on the Pressero site.

9. Click the Test Upload button to test the ftp login credentials
Click the Test Upload button to upload a small file to the Path for PDF Uploads folder to verify that the login credentials are correct and allow you to upload files.
The test file will be immediately deleted from the FTP server.

10. (Optional) Click the Choose button to select a local path for downloading Source PDFs when Synching from an Existing Pressero Site
This path is a local path on your computer where PDFs will be downloaded when you are taking over or cloning an existing Pressero Site.
The PDFs for a Products on the Pressero site will be downloaded to this location.

11. (Optional) Enter an email address to use for sending emails to PrintPoint Users
When setting up Web2Print Users, you can choose to send Internal Messages or Emails (or both) to PrintPoint Users when orders are placed on the Pressero site by the Web2Print User.
Enter an email address here to use as the From address for any emails sent to the PrintPoint Users about the orders downloaded from Pressero.
This email address is meant to be a "No-Reply" address which is not monitored by PrintPoint.
Optional: Click the Send Test Email button to send a test email to an address you specify.

12. (Optional) Choose how to send messages to members of the New Web2Print Contact Notifications Group in PrintPoint
There is a group in PrintPoint's Users & Groups system named New Web2Print Contact Notifications. This group is used to specify the PrintPoint Users who get notified when a new Web2Print User is created on the fly when downloading orders from Pressero.
If Send Internal Message is selected, a Messages record will be created within PrintPoint so that a little popup alert window will appear in the upper right corner of the PrintPoint User's screen when they are logged into PrintPoint Server.
If Send Email is selected, an email is sent to the address associated with the PrintPoint User's settings (see File > User Settings).
